
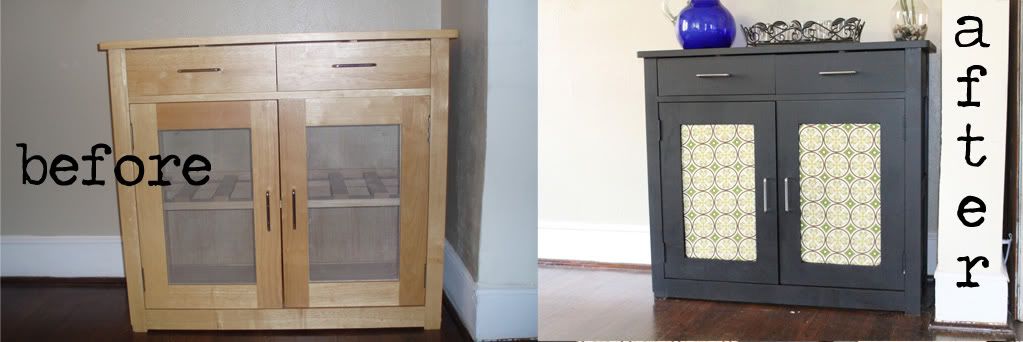
I bought this little Pier 1 cabinet off Craigslist for $50. It fit in the tiny dinning room in my previous apartment. It was laminate. It was ugly. I had plans of immediately refinishing it...it's been in it's original state for over a year. I'm almost embarrassed to admit I let it stay that way for so long. The funny thing is that I've hated it the entire time. I'd sit in my dining room and I'd silently curse how ugly it was. Any given Monday I'd decide this was the weekend I'd finally tackle painting it. And on Saturday I'd do something else.
You see, I'm a little homebody ADD. I have about a billion projects going at all times, and I have a really bad tendency to never fully complete things. Does my DVD storage cover have snaps yet or a finished hem? Nope. Opps. So with all of these other odds and ends floating around, it was fairly easy to not start another one. My other confession is that I was a little afraid of painting this cabinet. It's laminate, and if you've ever heard anything about painting laminate, you'd know that being nervous about painting it was probably warranted.
But last Sunday evening, as I sat glaring at the ugly cabinet in the corner, I decided it was way past time to paint it. After convincing Jason to cart it outside for me. I'm pretty sure he thought I was crazy. I mean who else jumps off the couch at 5 on Sunday and decides it's time to paint a cabinet? But, he's pretty used to my crazy endeavors. If the boy can handle coming home on a Saturday night to our dining room rug half painted in primer and me trying to get said primer off our dog (and yes, there will be an entire post about that adventure soon), then I'm sure painting a cabinet sounded normal.
Cabinet DIY
*Warning. This is not the "proper" way to paint a cabinet. If you know a professional painter, do not show them this post. I'm sure they'll die at the not-correctness of this. But hey, it's a $50 cabinet. I'm not expecting it to last forever, and this works for me.
Materials:
- Ugly cabinet
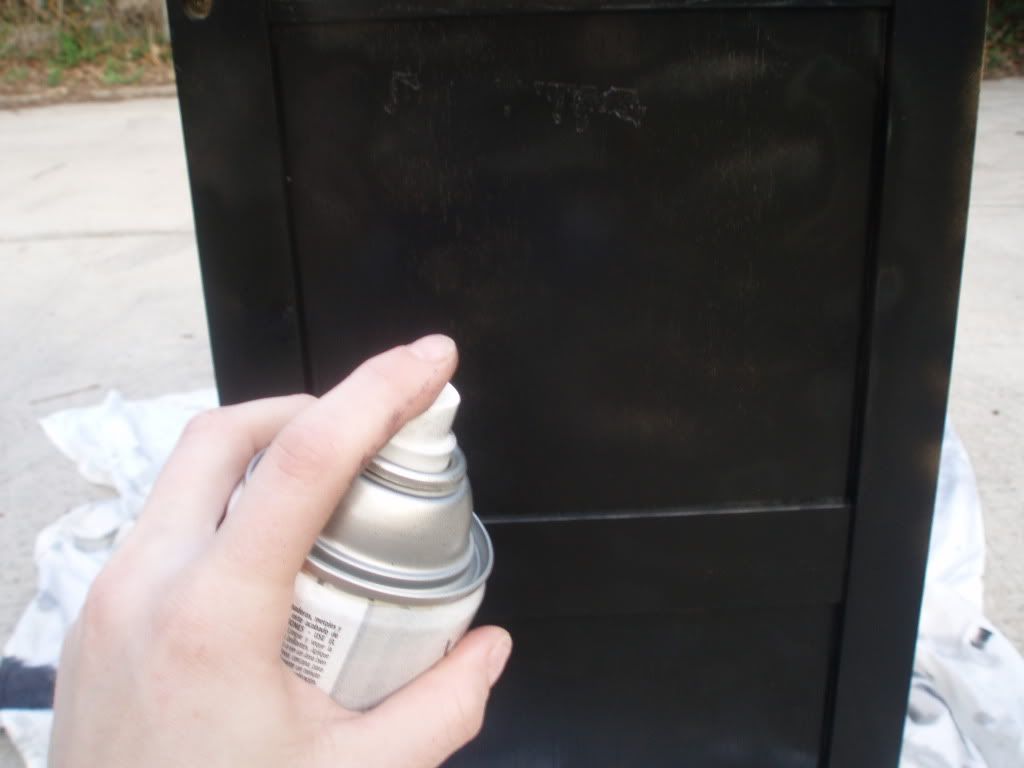
- Black spray paint.
- Chalkboard paint
- Pliers
- Foam cardboard
- Fabric
- Staples and stapler
Instructions:
- Remove all the hardware. I planned on removing the doors, but I couldn't get the screws out, and since I was already planning on ripping out the cabinet fronts, I wasn't too worried about painting them.
- Cart your cabinet outside. You really do not want to spray paint indoors. I've tried it once. It was a mess, and I almost passed out from the fumes. So probably not a good idea to try. The goal of my spray painting was simply to cover the cabinet. I didn't care what it looked like. All I needed was something for the actual paint to adhere to; laminate is notorious for paint not sticking to it. It was NOT a pretty paint job, but it did the trick. I also had intentions on using a spray paint primer to help with adhesion, but I had two cans of black spray paint on hand and figure it'd give them a try. Fortunately they adhered MUCH better than I anticipated.
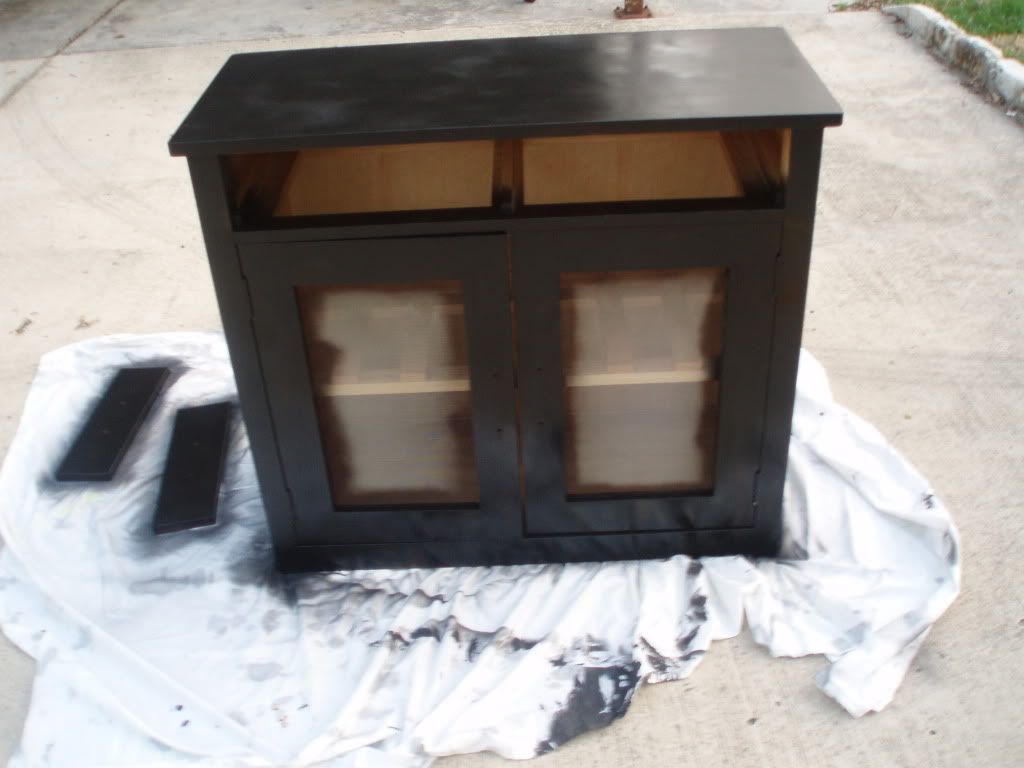
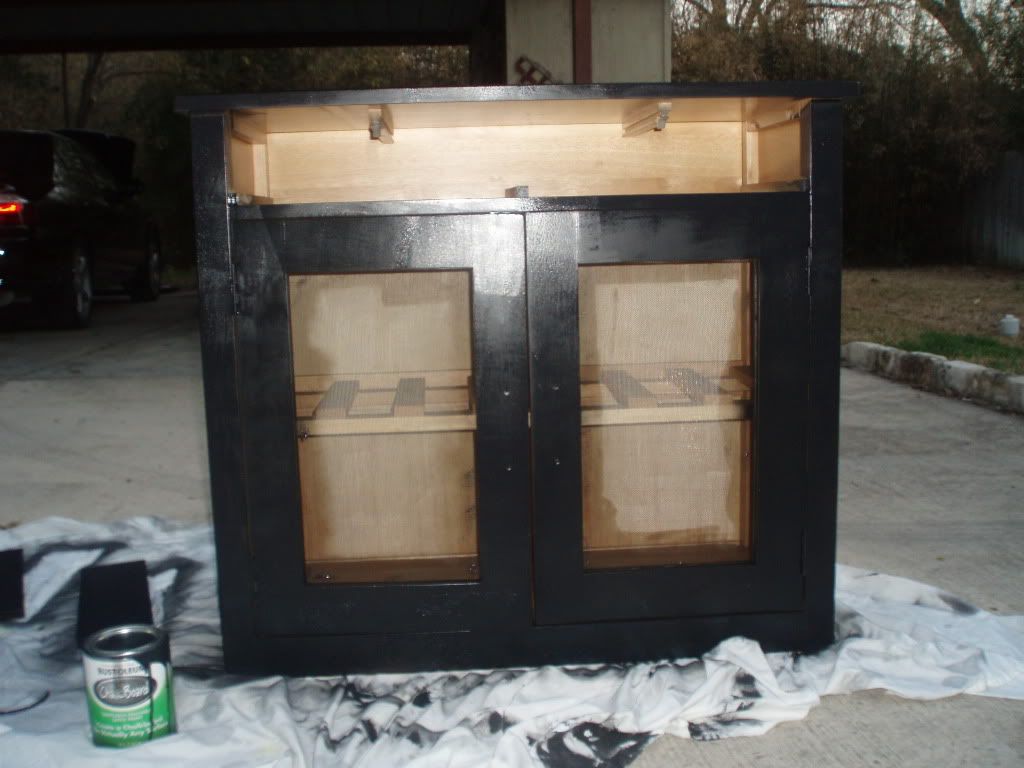
- Once your spray paint has dried enough (according to the label) coat lightly with the chalkboard paint. There isn't a particular reason that I'm using chalkboard paint. I just happened to have it already. Repeat with second coat, if needed.
 |
| Fighting a losing battle with the sun. |
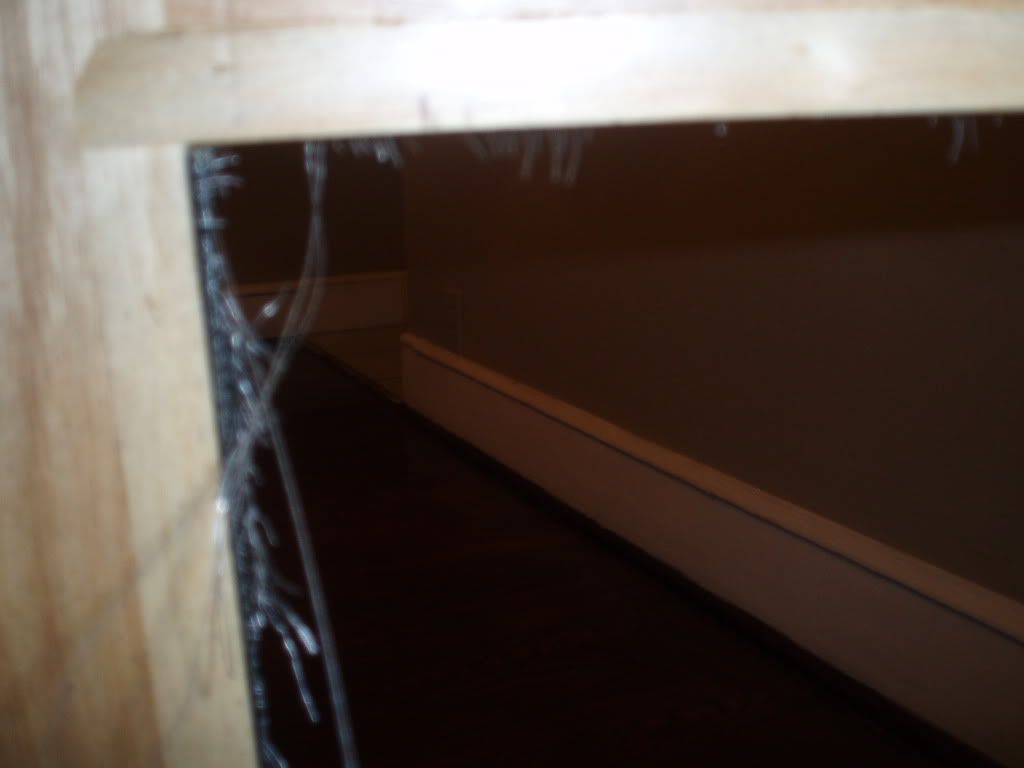
- Cart your cabinet back inside (especially if the sun has already set). Cabinet front demolition time. The cabinet happened to have tacky wire fronts, which I also hated. I spent the next hour ripping it off, using pliers. It was a messy, messy job. I was completely covered in metal dust, but I'd be lying if I said I didn't enjoy ripping it off.

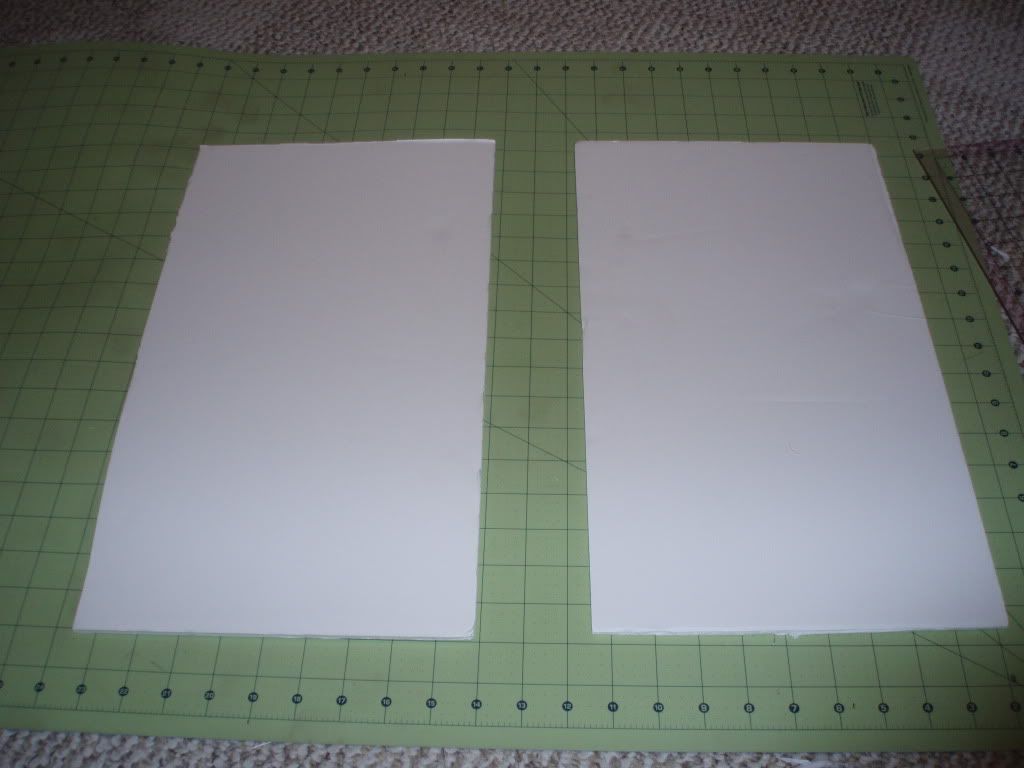
- Measure the cabinet front opening and cut foam-board to size. I cut mine just slightly large to ensure that it would be a tight fight. Cut your fabric so that it's about 2 inches longer on each side than the foam board. Staple fabric to the foam board.

- Wedge foam board into the cabinet fronts and you're done.
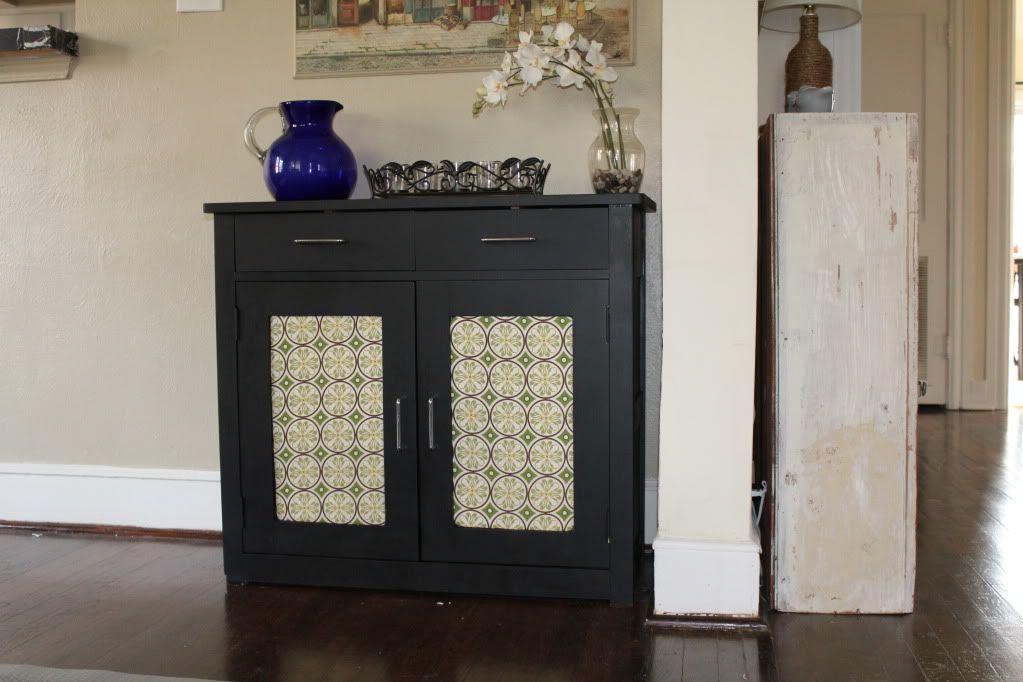
I have plans to replace the handles, but I'm still on the hunt for vintage silverware to do so. For now, I'm happy that it's finally painted.
No comments:
Post a Comment